Before starting to use the POS system and the app, you need to set up some basics in the web administration. This will allow you to manage your business in a simple and organized way. Let’s look at how to do it!
1. Log in to the Administration
- Use a laptop or PC and the Google Chrome browser.
- Open the web administration admin.storyous.com.
- Log in with your credentials.
If you don’t have an account yet, please register and log in first: How to register and log in to Storyous.
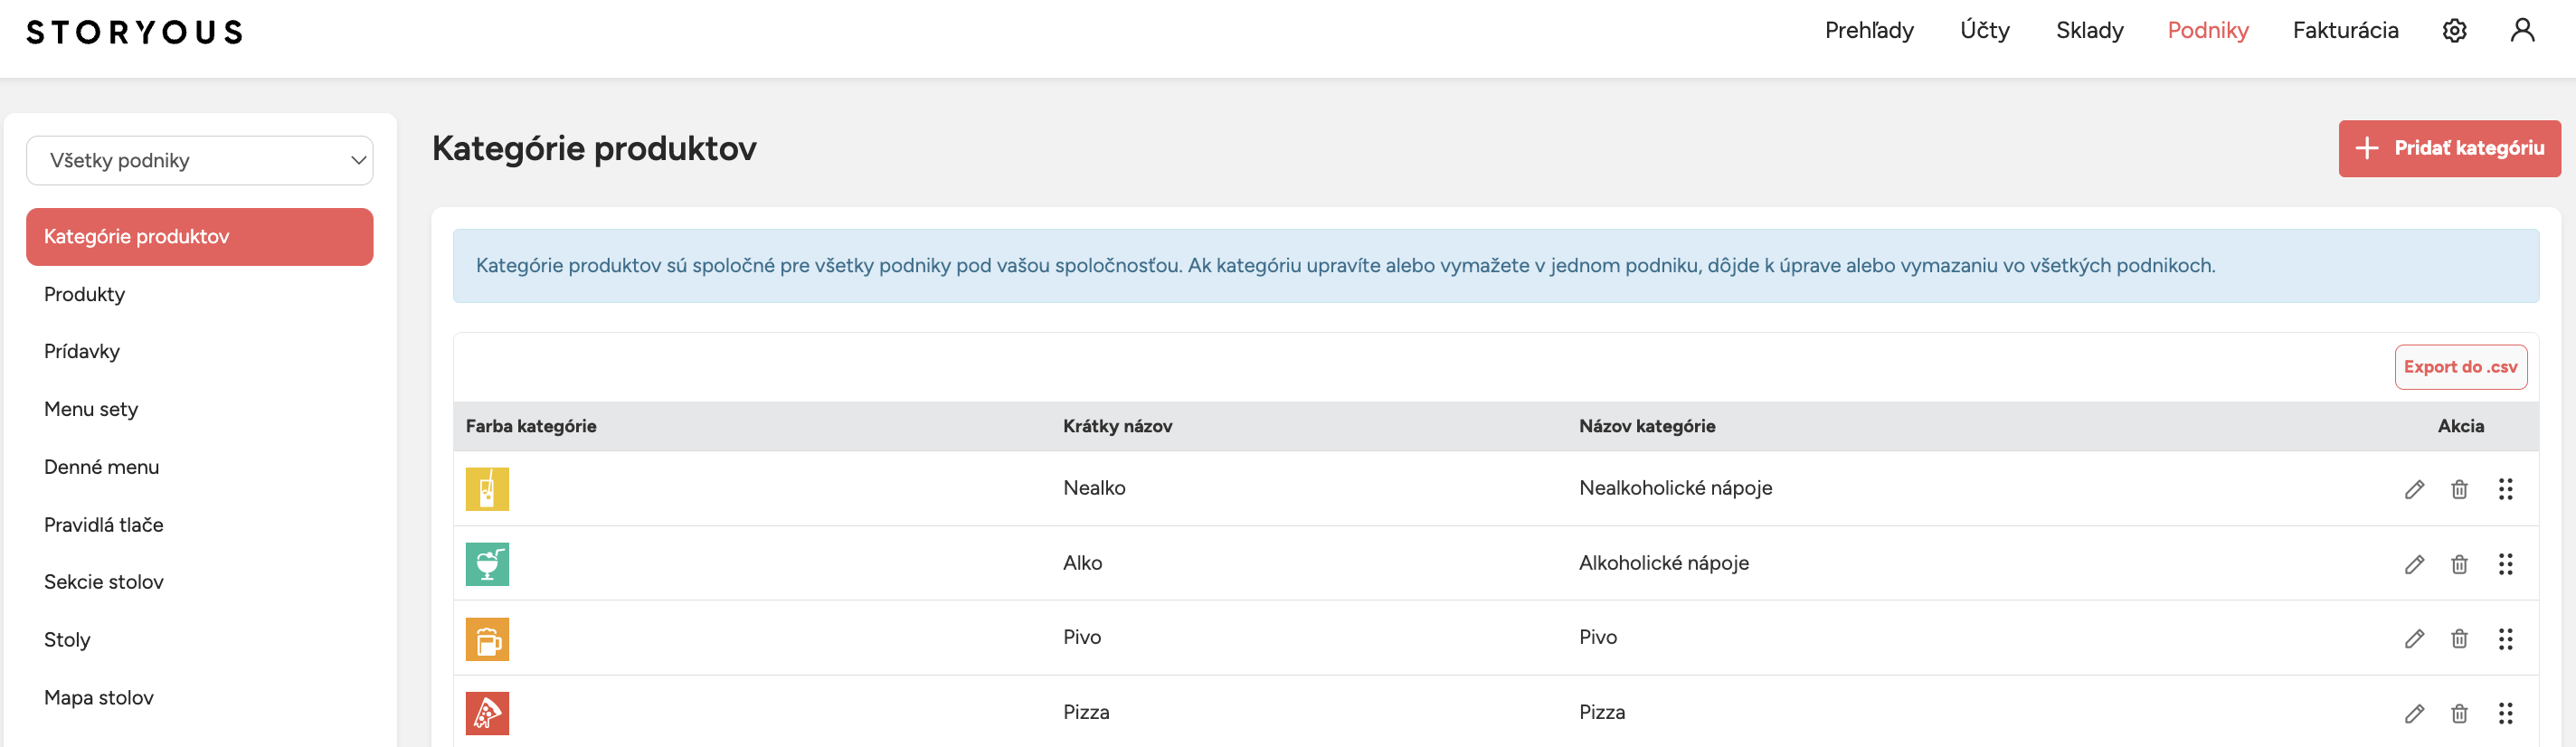
2. Creating a Product Category
- Click on the “Setup” section in the top menu.
- In the top left corner, select your business.
- Go to the “Product Categories” section.
- Click on + Add Category.
-
Fill in the details:
- Category Name (e.g., Beverages).
- Short Name (max. 10 characters, e.g., Drinks).
- Choose a color and an icon.
-
Click on Save.
| Tip: If you're in a hurry, you can use a pre-set category with items by VAT, but for better organization, we recommend creating your own categories. |
| Note: A category will only appear in the POS if at least one product is assigned to it. |
For more details, see: Product categories.
3. Creating a Product
- Open the “Products” section.
- Make sure the correct business is selected in the top left corner.
-
Click on + New Product and fill in the details:
- Product Name (e.g., Espresso).
- Price (including VAT).
- VAT rate.
- Select the category the product belongs to.
- (Optional) Add a product description.
- Tick the box “Show on tablet.”
-
Click on Save.

| Note: Products without a category will be placed in the "Uncategorized" group, which won’t be visible in the POS system. |
|
Note: If you don’t see the option to set a VAT rate for a product, please contact our support team. Conditions and steps to enable VAT can be found here: I became a VAT payer. |
For more details about working with products, see: Products and subcategories.